Welcome to Just Like Granny’s Kitchen!
Hey there, I'm Ashton, but you might know me as "JustLikeGranny" on social media. I'm all about food, and I mean, who isn't, right?
I cook up a storm, and I love turning everyday stuff into tasty, mouthwatering dishes. But here's the cool part—I team up with companies to make cooking even more exciting.
So, if you're into scrumptious recipes and want to see products put to delicious use, you've got to stick around. I promise you won't leave hungry! Just like this delicious Peanut Brittle Recipe here!
Recently On The Blog

How To Boil Eggs Recipe
The Perfect Boiled Eggs: A Foolproof Guide
Boiling eggs might sound like a straightforward kitchen task, but achieving that ideal balance between a firm white and a creamy yolk can sometimes be a bit tricky. Whether you're preparing eggs for a hearty breakfast, a tasty salad, or a satisfying snack, this step-by-step guide will help you master the art of boiling eggs to perfection every time.
The Essential Ingredients
Before you begin, gather your essentials:
Eggs: Choose fresh eggs with intact shells for the best results.
Tools of the Trade
You'll need a few kitchen tools to boil eggs with ease:
Saucepan: A medium-sized saucepan with a lid.
Water: Enough water to cover the eggs by at least an inch.
Slotted Spoon: For safely removing the eggs from hot water.
Timer: A kitchen timer or a timer app on your phone.

How to Safely Carve Pumpkins at Home for Halloween
Pumpkin Carving: A Fun, Yet Safety-Critical Activity
Pumpkin carving is a cherished autumn ritual, bringing families and friends together to express their creativity. However, it’s crucial to approach this activity with a safety-first mindset. Each year, emergency rooms witness a spike in hand and finger injuries related to pumpkin carving mishaps. The primary cause? The improper use of tools and lack of safety measures.
To ensure a safe and enjoyable pumpkin carving experience, follow these essential tips:
1. Choose the Right Tools: Opt for specially designed pumpkin carving kits instead of kitchen knives. These tools are less sharp and more manageable, reducing the risk of slips and deep cuts.
2. Stable Work Surface: Carve your pumpkin on a flat, stable surface. A wobbly table can lead to accidents, so ensure your carving area is secure.
3. Adult Supervision: Children should always be supervised. Let them draw the designs and clean the pumpkins, but leave the carving to adults.
4. Lighting Considerations: Avoid using real candles inside carved pumpkins. LED lights or battery-operated candles are safer alternatives that reduce the risk of fire hazards.
5. Emergency Preparedness: In case of an accident, have a first aid kit nearby. Knowing basic first aid can make a significant difference in response to a cut or injury.
By following these guidelines, you can enjoy the art of pumpkin carving while keeping everyone safe. Remember, a safe Halloween is a happy Halloween!

Homemade DIY Pumpkin Spice Seasoning
As autumn leaves start to twirl gently down from the trees, there’s nothing quite as comforting as the warm, aromatic embrace of pumpkin spice. Ashton A.K.A. JustLikeGranny brings the quintessential essence of fall right into your kitchen with a homemade Pumpkin Spice Seasoning. Crafted with a love for traditional flavors and an eye for perfection, this spice blend goes beyond the ubiquitous pumpkin pie, offering a versatile key to unlock the heartwarming sweetness and cozy spice in everything from morning lattes to the topping on an evening dessert.
The recipe, both simple and quick to prepare, calls for a harmonious blend of ground cinnamon, ginger, nutmeg, cloves, and allspice. Each spice, meticulously measured, contributes its own unique profile – the cinnamon offers a sweet, woody warmth; ginger a peppery sharpness; nutmeg, a nutty and slightly sweet warmth; cloves, intense and piquant; and allspice, a burst of flavors reminiscent of cinnamon, nutmeg, and cloves themselves.
Mixing these spices in just the right proportions creates a symphony of flavors. The dominant cinnamon pairs beautifully with the sharpness of ginger, the sweetness of nutmeg, the pungency of cloves, and the rounded notes of allspice.
is more than just a seasoning; it’s a nostalgic trip to the heart of autumn.
Ashton’s recipe also embodies practicality. Stored in an airtight container, the Pumpkin Spice Seasoning keeps well, making it a convenient staple in your pantry. Its longevity doesn’t just span weeks but months, allowing you to infuse the essence of fall into your dishes well beyond the season.
What elevates this Pumpkin Spice Seasoning from Ashton A.K.A. JustLikeGranny, apart from its flavor, is its versatility. Whether it’s sprinkled over a steaming mug of hot cocoa, folded into the batter of your breakfast pancakes, or dusted over a freshly baked apple pie, this seasoning adds a heartwarming depth and a comforting spice that speaks of home, tradition, and the simple joys of autumn.
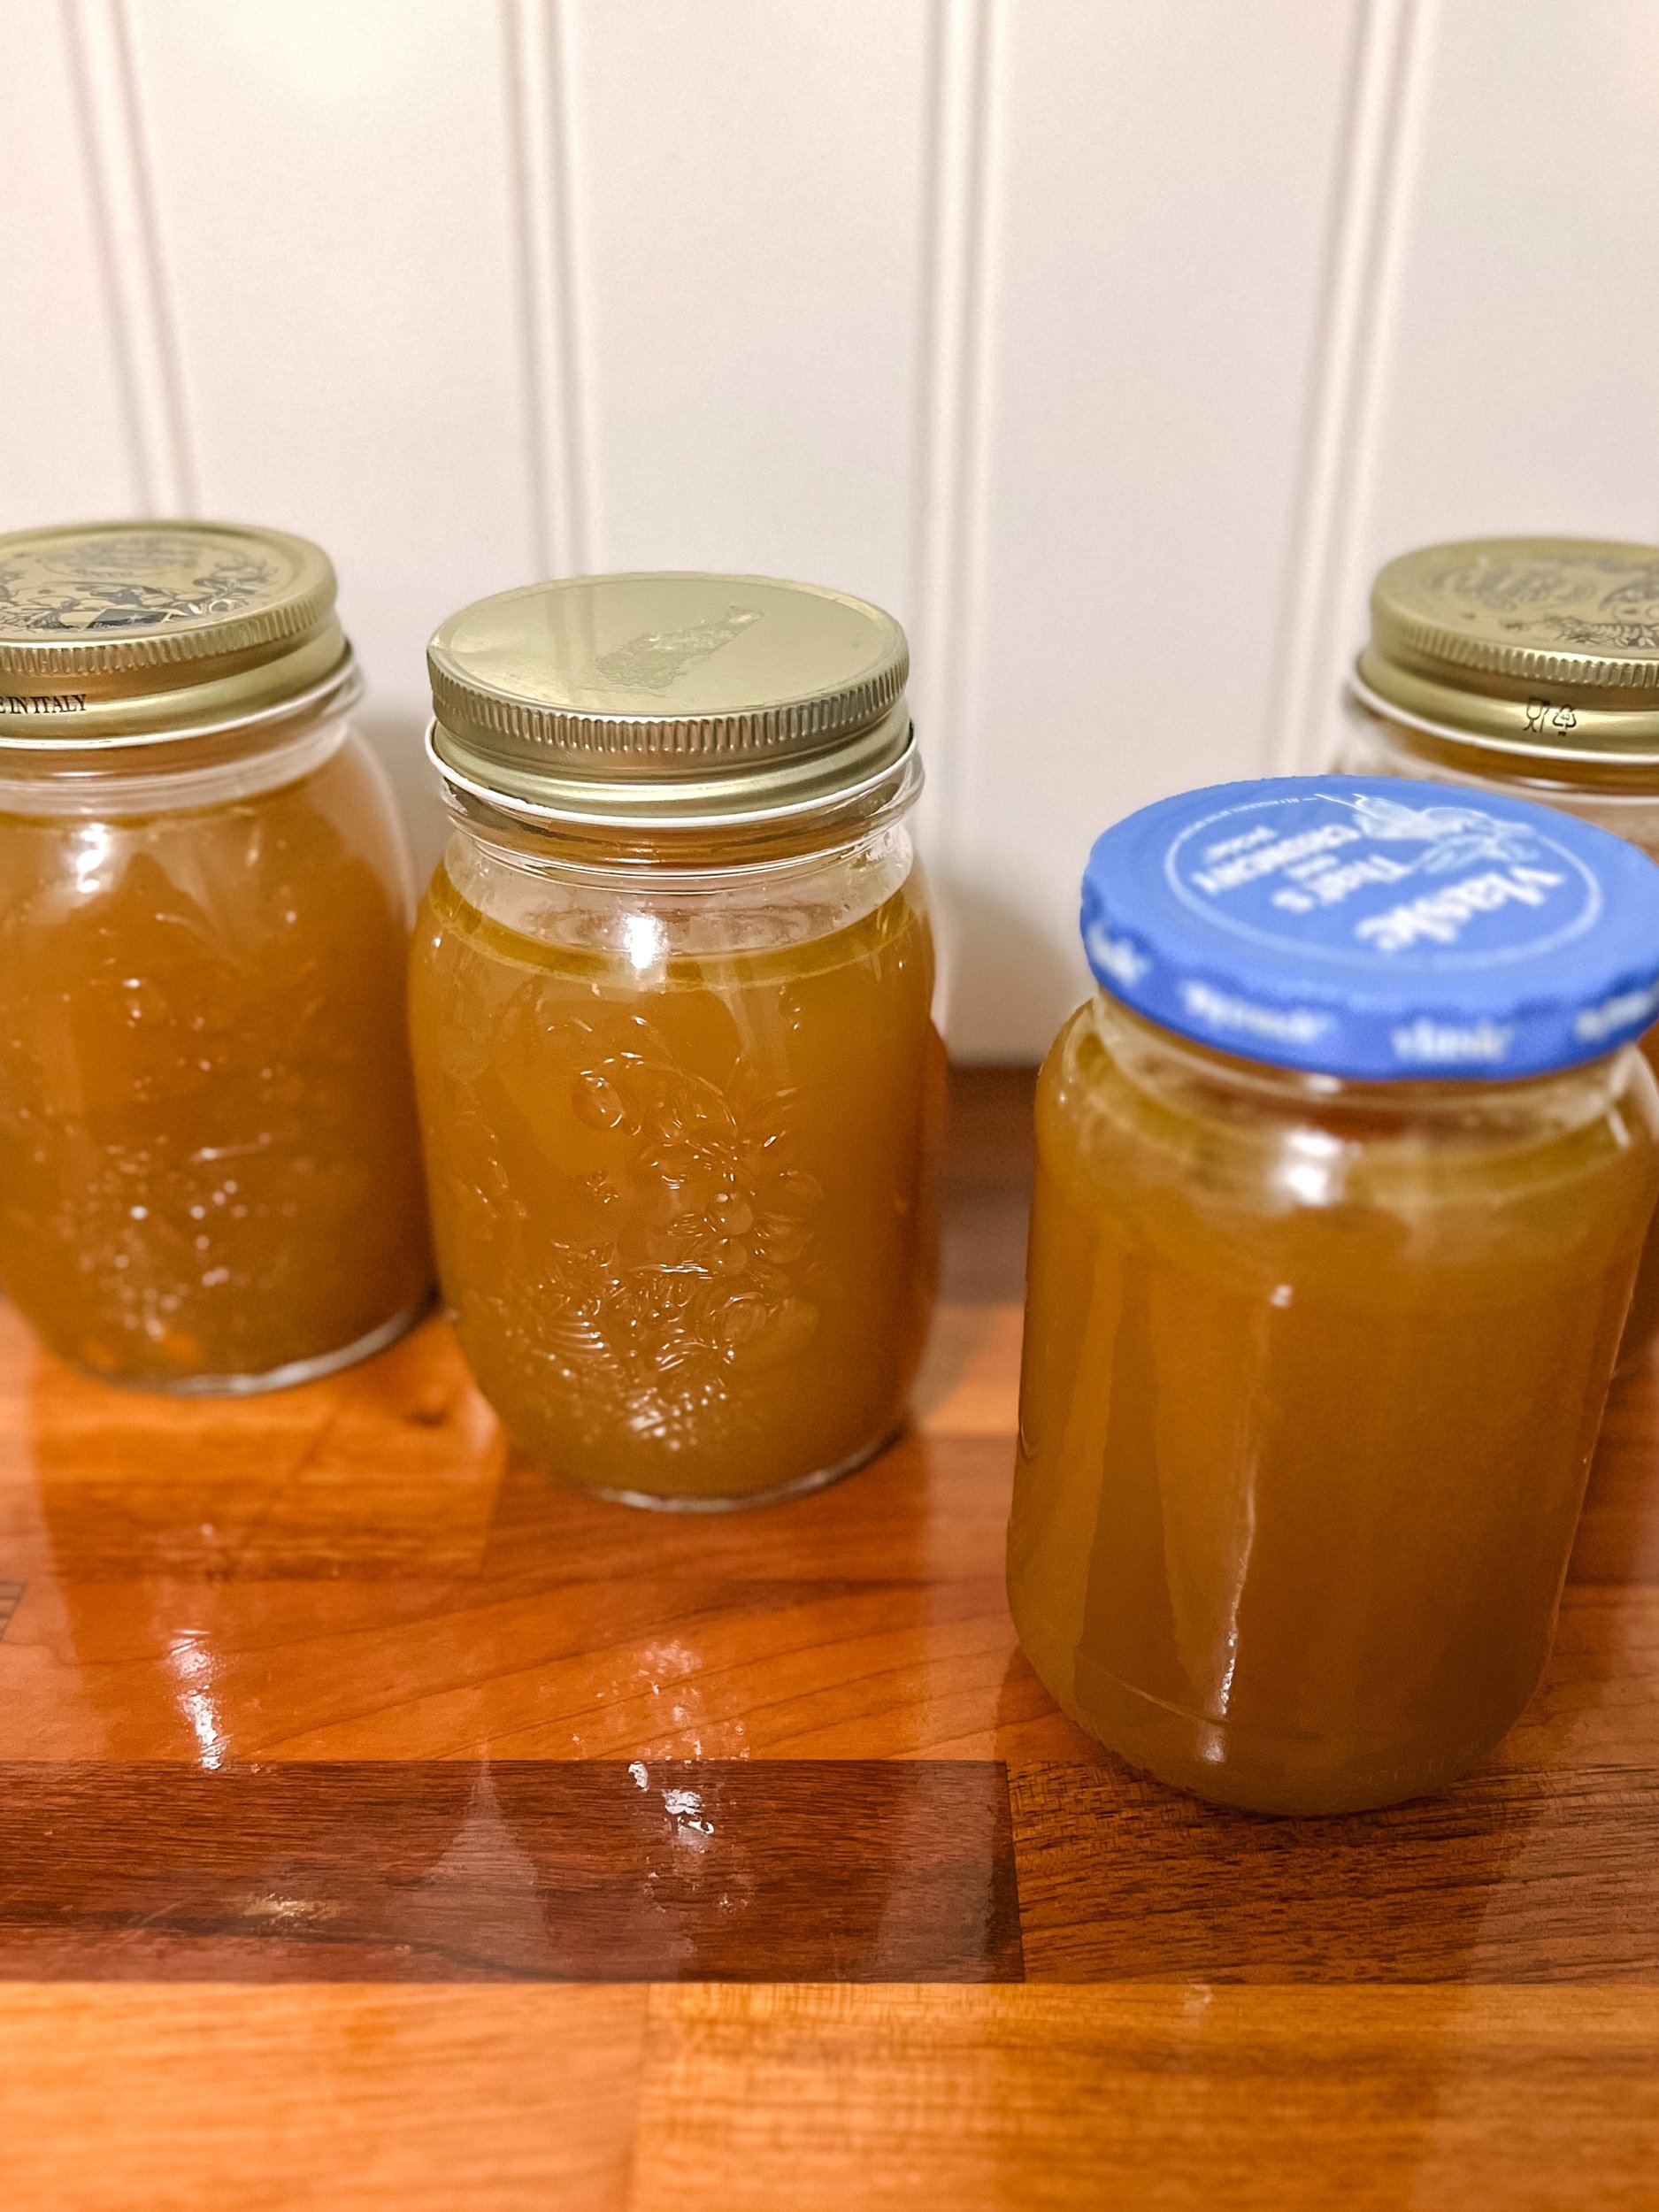
Homemade Healthy Golden Chicken Bone Broth or Stock Recipe
Hey there, lovely people! It’s Ashton, A.K.A. JustLikeGranny, and I’ve got something special to share with you today. Picture this: the depth of a rich golden broth that holds the essence of carefully chosen ingredients, each playing a pivotal role in creating a symphony of flavors. Now, imagine sipping on this liquid gold, feeling its warmth trickle down, nourishing your body and soul.
You see, this isn’t just any broth. This is the Golden Chicken Bone Broth. Crafted meticulously from a wholesome chicken carcass, this broth has a depth only achieved by slow-simmering it to perfection. And those roasted vegetables? Oh, they’re not just there for show. The caramelized carrots, onions, and celery offer a gentle sweetness, balancing the robustness of the herbs like thyme and rosemary. Add in a hint of spice from the black peppercorns and cloves, and there’s this delightful complexity that’ll make your taste buds dance!
The best part is, every sip holds not just flavor, but a bounty of health benefits. Bone broth has been revered for ages for its healing properties. So, whether you’re sipping it solo on a chilly evening, using it as a base for your favorite soup, or just sneaking it into your dishes for that added richness – you’re in for a treat. And trust me, once you’ve tasted this, there’s no going back to those store-bought versions.
Remember, great food isn’t just about the ingredients; it’s about the love and intention behind it. And this Golden Chicken Bone Broth? It’s like a warm hug from the inside out. Enjoy, my friends, and until next time, keep cooking with heart!
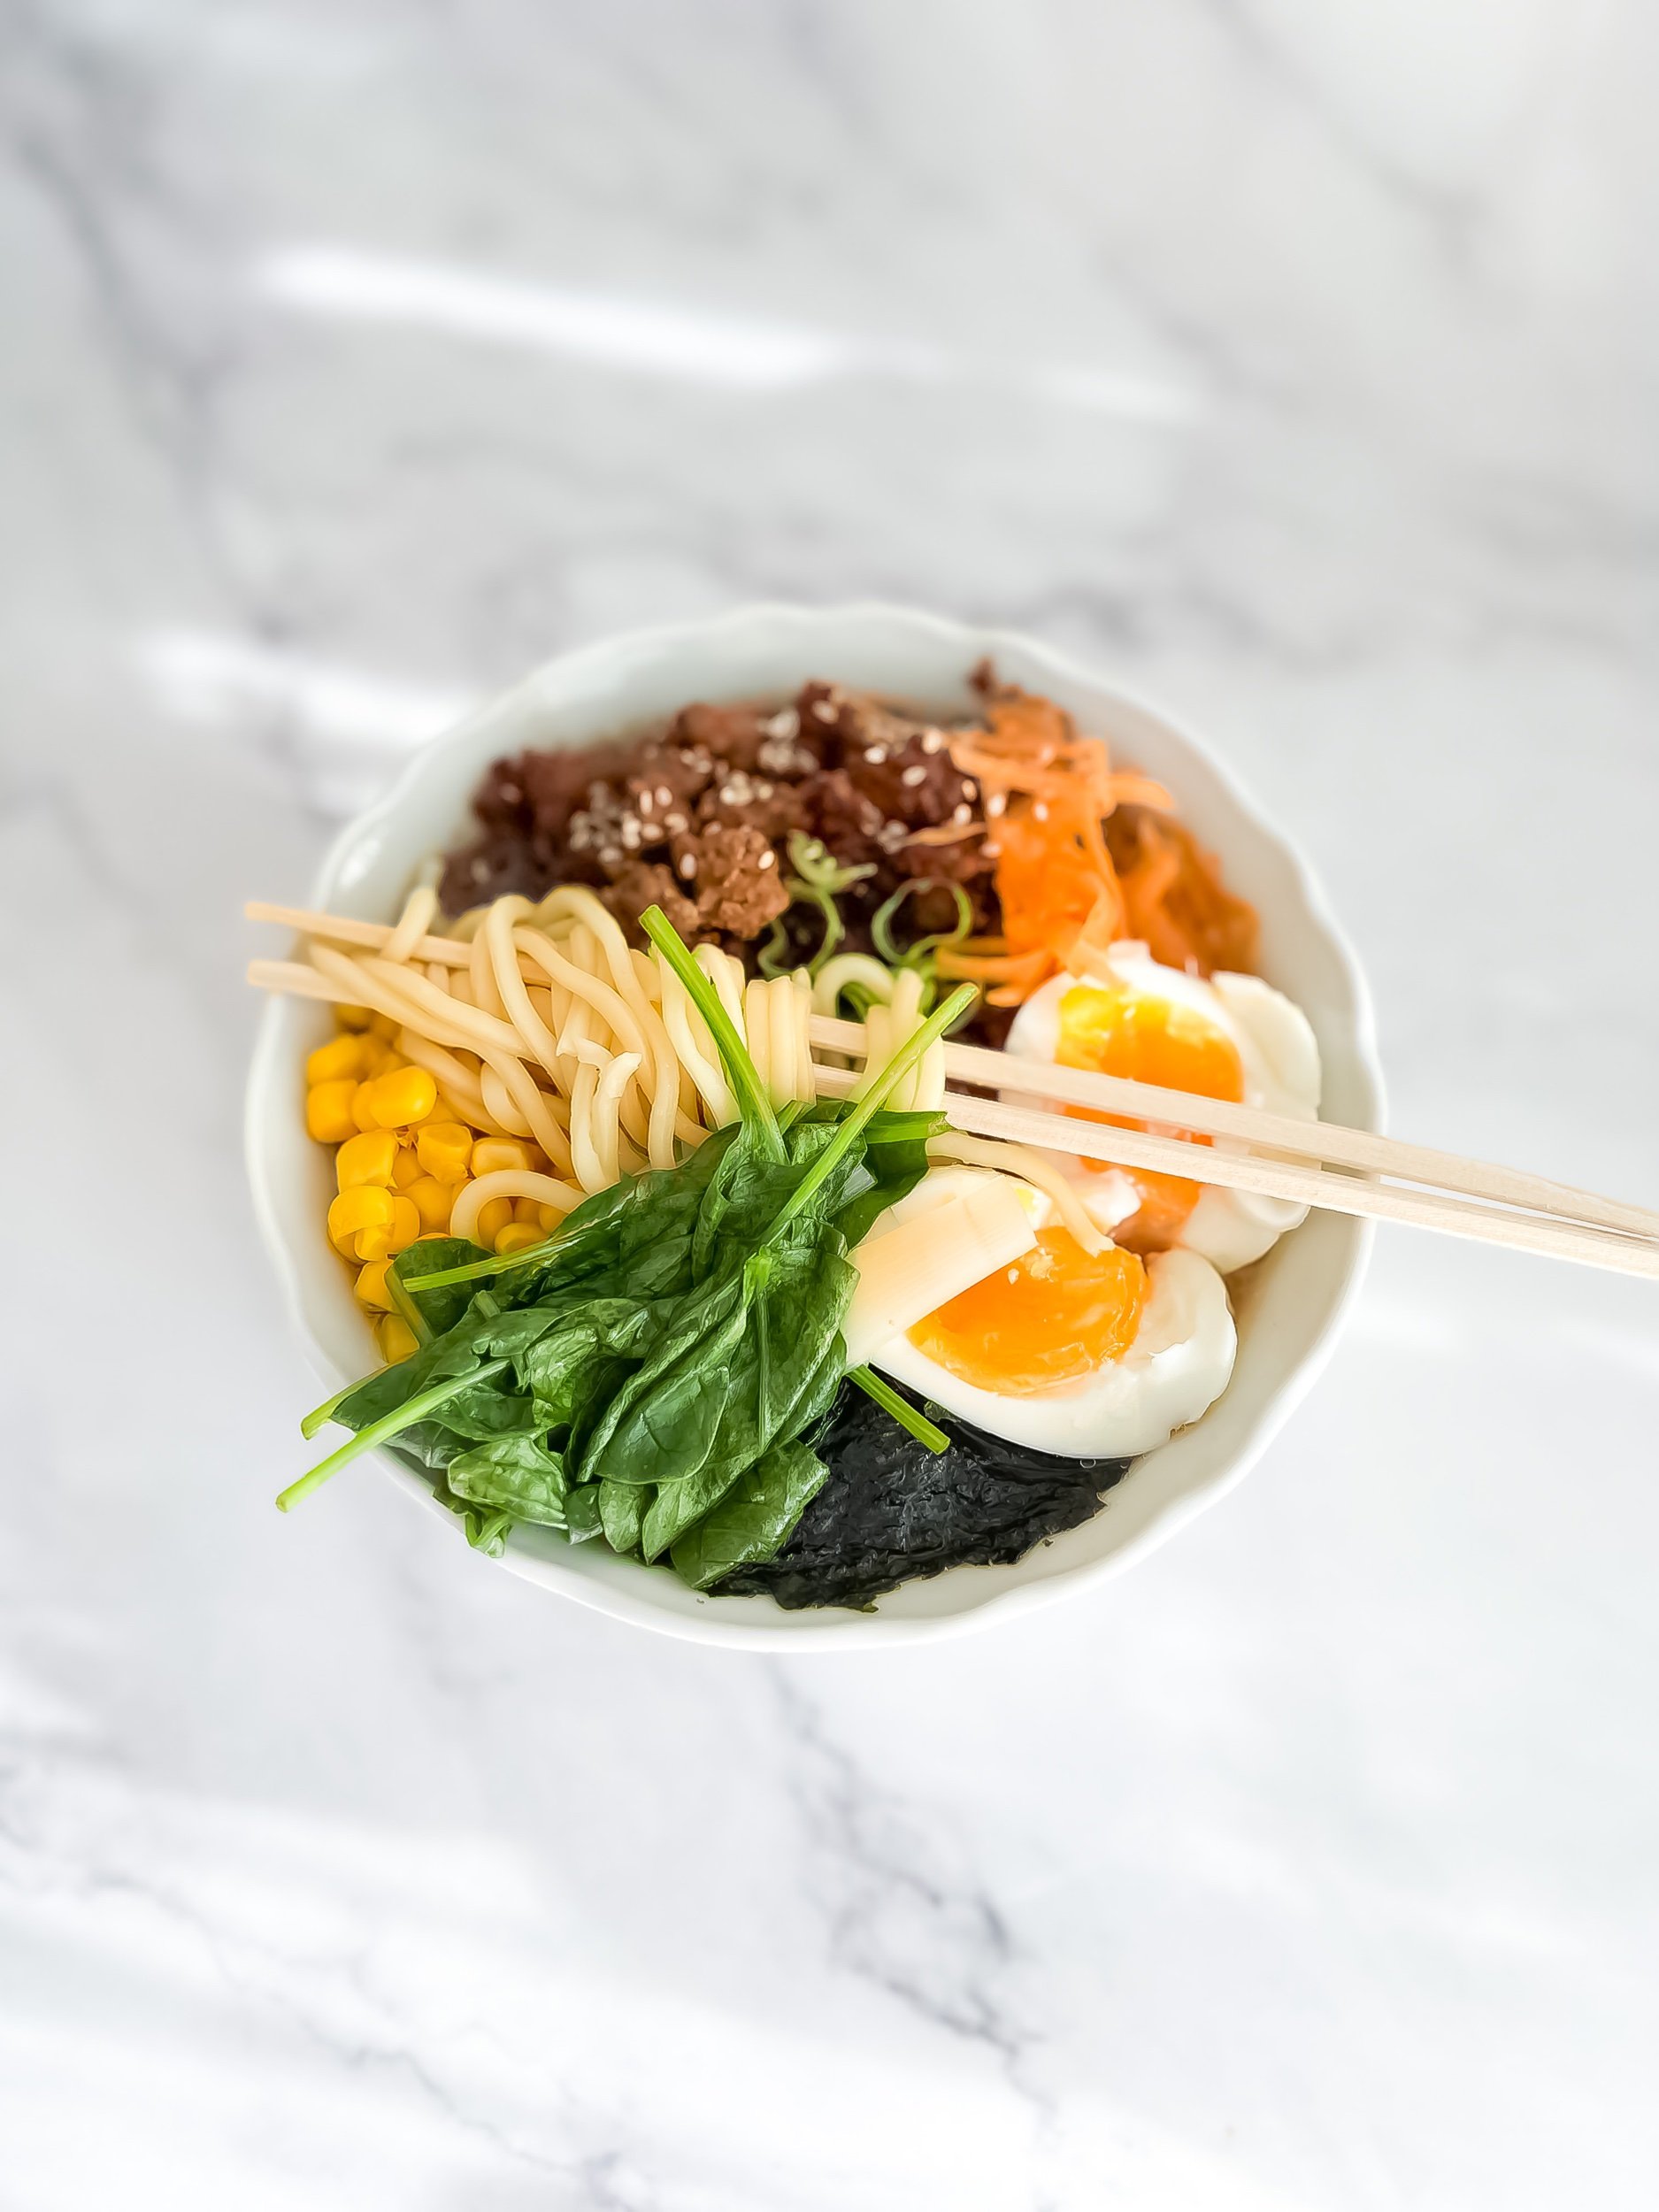
Super Easy Homemade Saucy Ground Pork Ramen Recipe
Delight your taste buds with the authentic flavors of Japan by indulging in our Saucy Ground Pork Ramen. This rich and savory dish brings together succulent ground pork and flavorful ramen noodles in a delightful blend that’s perfect for a quick and saucy homemade meal.
In just 15 minutes of prep time and 20 minutes of cook time, you can whip up this mouthwatering ramen to satisfy your cravings. The recipe serves 4, making it an ideal choice for a family meal or a cozy gathering with friends.
To create the delicious pork sauce, start by sautéing minced garlic and grated ginger in vegetable oil until they release their tempting aroma. Then, add one pound of ground pork, breaking it into savory crumbles, and cook it to perfection until it turns beautifully brown.
The magic of the sauce comes alive with the addition of soy sauce, mirin, sake, sesame oil, and a touch of sugar. Allow the sauce to simmer gently for about 5 minutes until it thickens and develops its incredible flavors.
In a separate pot, cook the ramen noodles according to the package instructions, then drain them to be ready for their flavorful companions.
The broth, an essential component of any good ramen, is prepared by gently warming up four cups of chicken or vegetable broth in a large pot.
Now comes the exciting part! Divide the cooked ramen noodles among serving bowls and generously pour the warm broth over them. Top this exquisite combination with the mouthwatering pork sauce, and for that added touch, garnish with sliced green onions, chopped spinach or bok choy, and optional goodies like soft-boiled egg, seaweed, and sesame seeds.
With its enticing aroma and vibrant colors, the Saucy Ground Pork Ramen is ready to be savored immediately. Each spoonful promises an authentic taste that will transport you straight to Japan.
To make this delightful dish even better, you have the freedom to customize it to your liking. Experiment with your favorite vegetables like corn, bean sprouts, or bamboo shoots for an extra burst of flavor. For those seeking a richer broth, a tablespoon of miso paste blended into the chicken or vegetable broth will do the trick. And if you’re a fan of spiciness, a dash of chili oil or sriracha will add that perfect kick!
Concerned about nutrition? No worries! Each serving of our Saucy Ground Pork Ramen clocks in at around 580 calories, with 30g of protein, 28g of fat, 54g of carbohydrates, and 1750mg of sodium. With these wholesome ingredients, you can enjoy the comforting warmth of authentic Japanese cuisine right in your kitchen.
So why not invite your loved ones to gather around the table and share in the joy of this Saucy Ground Pork Ramen? It’s destined to become a family favorite, bringing smiles and unforgettable moments with every delicious bite. Happy cooking!

The Best Copycat Hidden Valley Ranch Dressing Recipe
Hello my foodie friends, Ashton here, A.K.A. JustLikeGranny, bringing you a culinary secret that’ll take your salads, snacks, and even your grilled dishes to a whole new level. Get ready to make your very own Copycat Hidden Valley Ranch Dressing at home!
I know you love that iconic Hidden Valley flavor, but wait until you try this homemade version. It’s got all the creaminess, tanginess, and herb-filled goodness of the original, but with an extra dash of love. Best of all, it’s so easy to make! With just a blender and a handful of ingredients, you’re on your way to whipping up your very own ranch dressing.
This recipe uses kitchen staples like mayonnaise, buttermilk or natural Filmjolk, garlic powder, onion powder, dried parsley and thyme, and even a pinch of citric acid for that tangy kick. We also add a bit of MSG for the classic umami flavor and a touch of xanthan gum to get the perfect, pourable consistency.
And did I mention how versatile this ranch dressing is? Drizzle it over your salads, dip your veggies, or slather it on a burger. Heck, pair it with my Copycat Zaxby’s Chicken Tenders recipe, and you’ve got a match made in heaven!
So why not give it a go? It only takes 10 minutes to prep and then a couple of hours in the fridge to let all those flavors mingle and get to know each other. Plus, each serving has approximately 110 calories, 11g of fat, 1g of carbs, and no protein.
Ready to make some magic in the kitchen? Let’s bring that ranch goodness home, and remember, there’s always more deliciousness to come from your kitchen fairy, JustLikeGranny!
(Note: Nutritional information is an approximation based on the ingredients. Actual nutritional content may vary.)
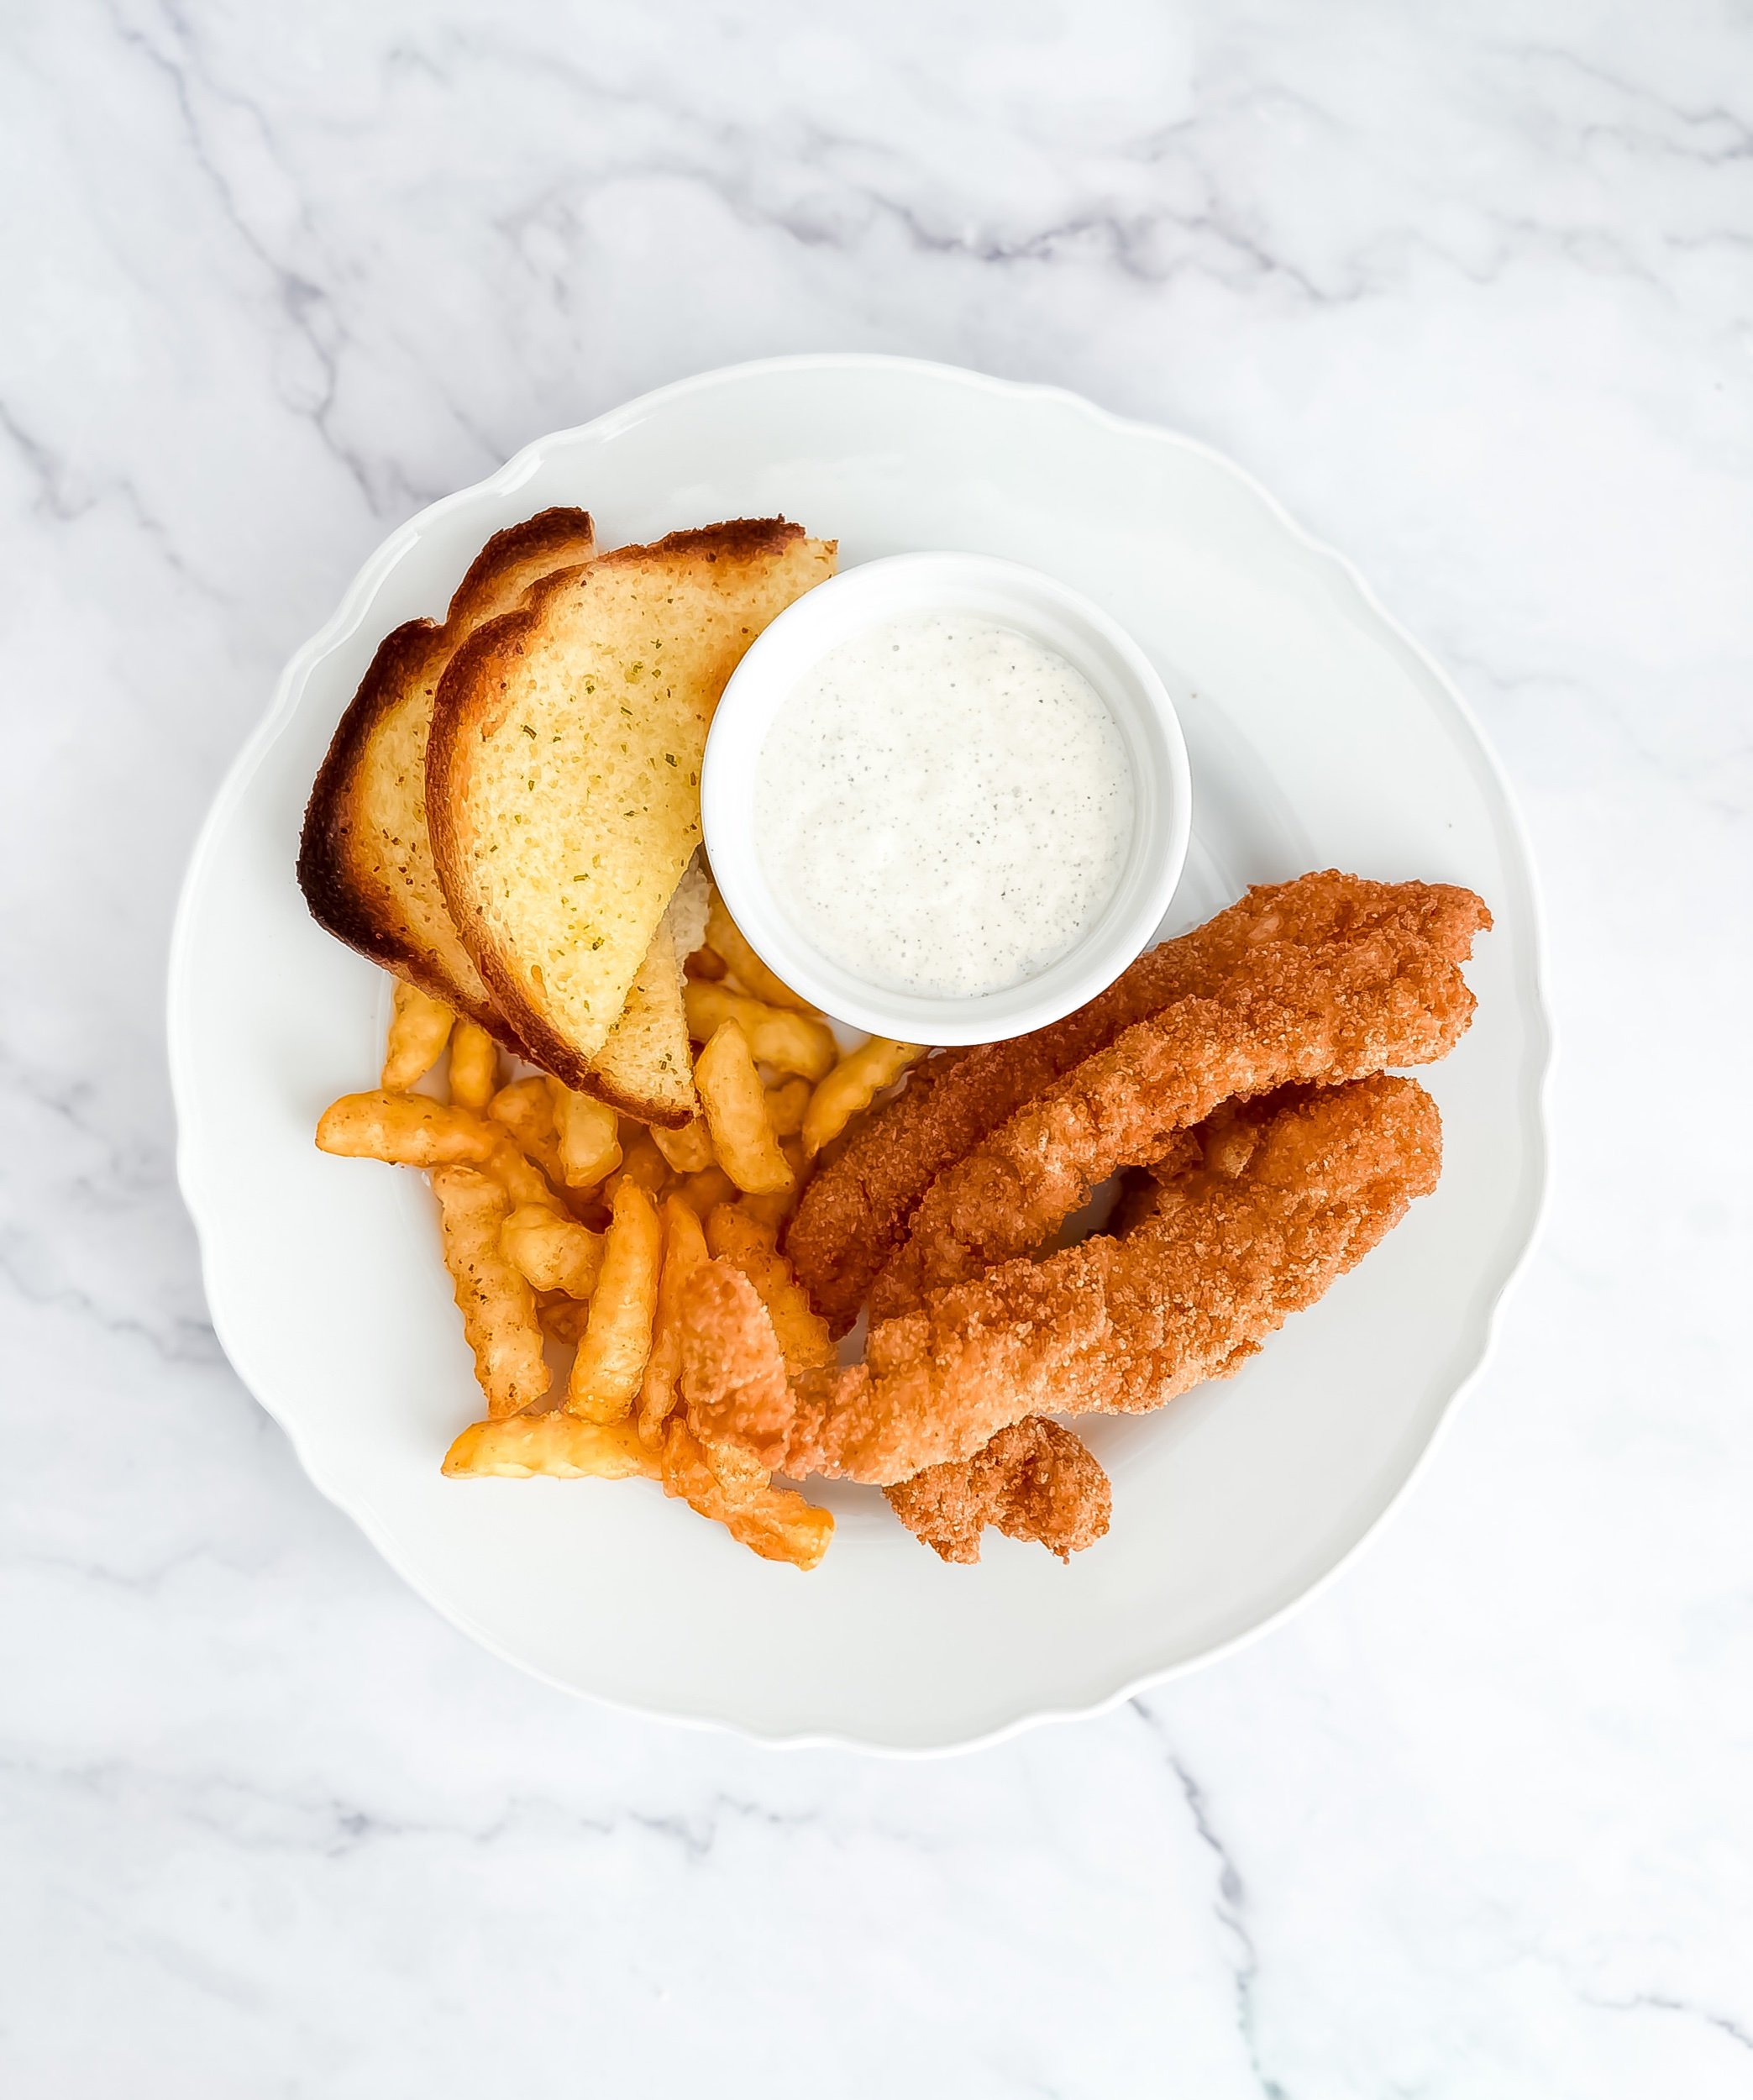
The Best Copycat Recipe for Zaxby’s Chicken Tenders
Hey there, my wonderful food-loving friends! It’s Ashton here, your go-to guide for the tastiest recipes, A.K.A. JustLikeGranny. I’ve got something really special for you today. Yes, we’re diving into the world of comfort food with our Copycat Zaxby’s Chicken Tenders recipe. It’s crispy, it’s savory, and it’s sure to satisfy your cravings.
Imagine sinking your teeth into a tender piece of chicken encrusted with a golden, crispy layer of seasoned flour and bread crumbs, cooked to perfection. Yes, that’s the delicious experience we’re recreating today. The double-dipping method ensures an extra crunch that will remind you of your favorite Zaxby’s chicken tenders.
This recipe is simple and quick, with a prep time of just 20 minutes and a cooking time of 10 minutes. You’ll be enjoying your homemade chicken tenders in no time. They’re perfect for a family dinner, a gathering with friends, or even for those solo nights when you just want some good, comforting food.
Pair these delectable chicken tenders with the homemade Copycat Hidden Valley Ranch Dressing (link to the recipe) that I shared earlier, and you’ve got yourself a winner.
But let’s not forget about nutrition. Each serving comes with 350 calories, 13g of fat, 25g of carbohydrates, and a whopping 30g of protein, making it a balanced meal when paired with a salad or your favorite veggies.
So, grab your apron and let’s get started! I can’t wait for you to try this recipe and add it to your comfort food repertoire. Don’t forget to share your experiences and stay tuned for more delicious and easy recipes from your favorite, JustLikeGranny!
(Note: Nutritional information is an approximation based on the ingredients. Actual nutritional content may vary.)

The Best Old Fashioned Cherry Jam Recipe: Just Like Granny Used To Make!
Welcome to My Kitchen: Crafting the Perfect Old Fashioned Cherry Jam Indulge in the delightful flavors of my easy Old Fashioned Cherry Jam recipe! From sweet cherry pies to luscious jams, cherries are incredibly versatile. Choose between sweet or sour cherries for a unique twist. No added pectin is needed—just fresh cherries, sugar, lemon juice, water, and a touch of butter. Get ready to savor the perfect jam consistency. Happy cooking!

How To Make The Best Sushi Rice
This step-by-step guide will teach you how to prepare tender and flavorful sushi rice that serves as the foundation for delectable homemade sushi rolls. I'll share with you my secrets to achieving the ideal texture and taste of sushi rice. You'll understand the unique qualities of sushi rice and gather the necessary ingredients and equipment to be equipped with all the knowledge you need. You can follow my step-by-step instructions to rinse, cook, and season the rice, and I'll share valuable tips with you along the way. And don't forget to check out your Pinterest board and follow yourself on Instagram for more culinary inspiration. Are you ready to elevate your sushi-making skills with the perfect sushi rice?

Homemade DIY Easy and Safe Hummingbird Nectar Recipe
I really appreciate how simple the perfect hummingbird nectar recipe is. All you need is water and granulated white sugar. I provide you with detailed instructions for making the nectar, including boiling the water to eliminate potential contaminants and avoiding harmful additives like honey or artificial sweeteners. I highly recommend maintaining a clean and fresh hummingbird feeder to ensure the health and happiness of our feathered friends. Here are some tips for storing and changing the nectar. I would caution against using red food coloring, and I found it interesting when the author shared the history of hummingbird nectar recipes, from early experimentation to the current simplified form. I encourage you to share this information, create your own nectar, engage with the birdwatching community, and enjoy the magical moments of observing hummingbirds in your garden.

Maryland Crab Cakes Recipe
Are you craving a taste of the Maryland coast? You should try these mouthwatering Sautéed Maryland Crab Cakes with Celery and Onions. I absolutely love this classic seafood dish! It's packed with so much flavor and really showcases the delicate sweetness of lump crabmeat. You'll love these crab cakes with their golden brown crust and tender, lumpy interior. They're sure to impress your taste buds and your guests. To create these delectable crab cakes, you'll need to gather some ingredients like lump crabmeat, breadcrumbs, mayonnaise, Dijon mustard, Worcestershire sauce, and fresh parsley. After you sauté the celery and onions, combine them with the crabmeat mixture. Refrigerate the mixture for 30 minutes, shape it into patties, and cook them to perfection on a skillet and in the oven. You can enjoy the warm crab cakes with lemon wedges and customize them with remoulade sauce. Alternatively, you can pair them with a fresh salad or crispy fries. You will love experiencing the flavors of Maryland's culinary heritage with these irresistible crab cakes!

Homemade Teriyaki Sauce Recipe
I love using teriyaki sauce in my cooking because of its unique combination of sweet, salty, and savory flavors. It's a staple in my kitchen and I know many others around the world feel the same way. I believe that making your own teriyaki sauce is a special experience, even though store-bought options are readily available. Today, I'll share with you a simple, authentic recipe for homemade teriyaki sauce. I love making homemade teriyaki sauce because it requires a mix of Japanese tastes. You need soy sauce, mirin, sake, granulated sugar, cornstarch, and water to make it perfect. I balance salty, sweetness, and umami to make my teriyaki sauce. To make the sauce, you can combine soy sauce, mirin, sake, and granulated sugar in a small saucepan. Please stir occasionally until the sugar dissolves over medium heat. To make this recipe, you'll want to mix cornstarch and water in a basin. Then, gently pour the mixture into the pot while stirring. I thicken and gloss the sauce. To obtain your desired consistency, you can simmer the sauce on low heat for 5 minutes. After you've let the sauce cool down, you can put it in an airtight container and refrigerate it for up to 2 weeks.

Granny Hayes No-Bake Cheesecake Filling Recipe
You'll love Granny Hayes' No-Bake Cheesecake Filling! It's the perfect creamy treat to satisfy your sweet tooth without any fuss. You can impress your loved ones with a delectable cheesecake filling in just 10 minutes of preparation time and 4 hours of chilling. To make this recipe, you'll want to start by softening two blocks of Philadelphia cream cheese at room temperature. Then, beat the cream cheese until it's smooth and creamy. Gradually add the sweetened condensed milk and blend until we have a well-combined mixture. For a tangy twist, you can mix in some fresh lemon juice. Once you're ready with your filling, transfer it to your crust-lined pan and let it chill for 4 hours until it's firm. When you serve, you can garnish with your favorite toppings and get creative with different crust variations. I absolutely love Granny Hayes' No-Bake Cheesecake Filling! It's a timeless favorite that always leaves me wanting more. The simplicity, smoothness, and tangy taste are just perfect. Whenever I make it, I always get compliments and requests for the recipe!
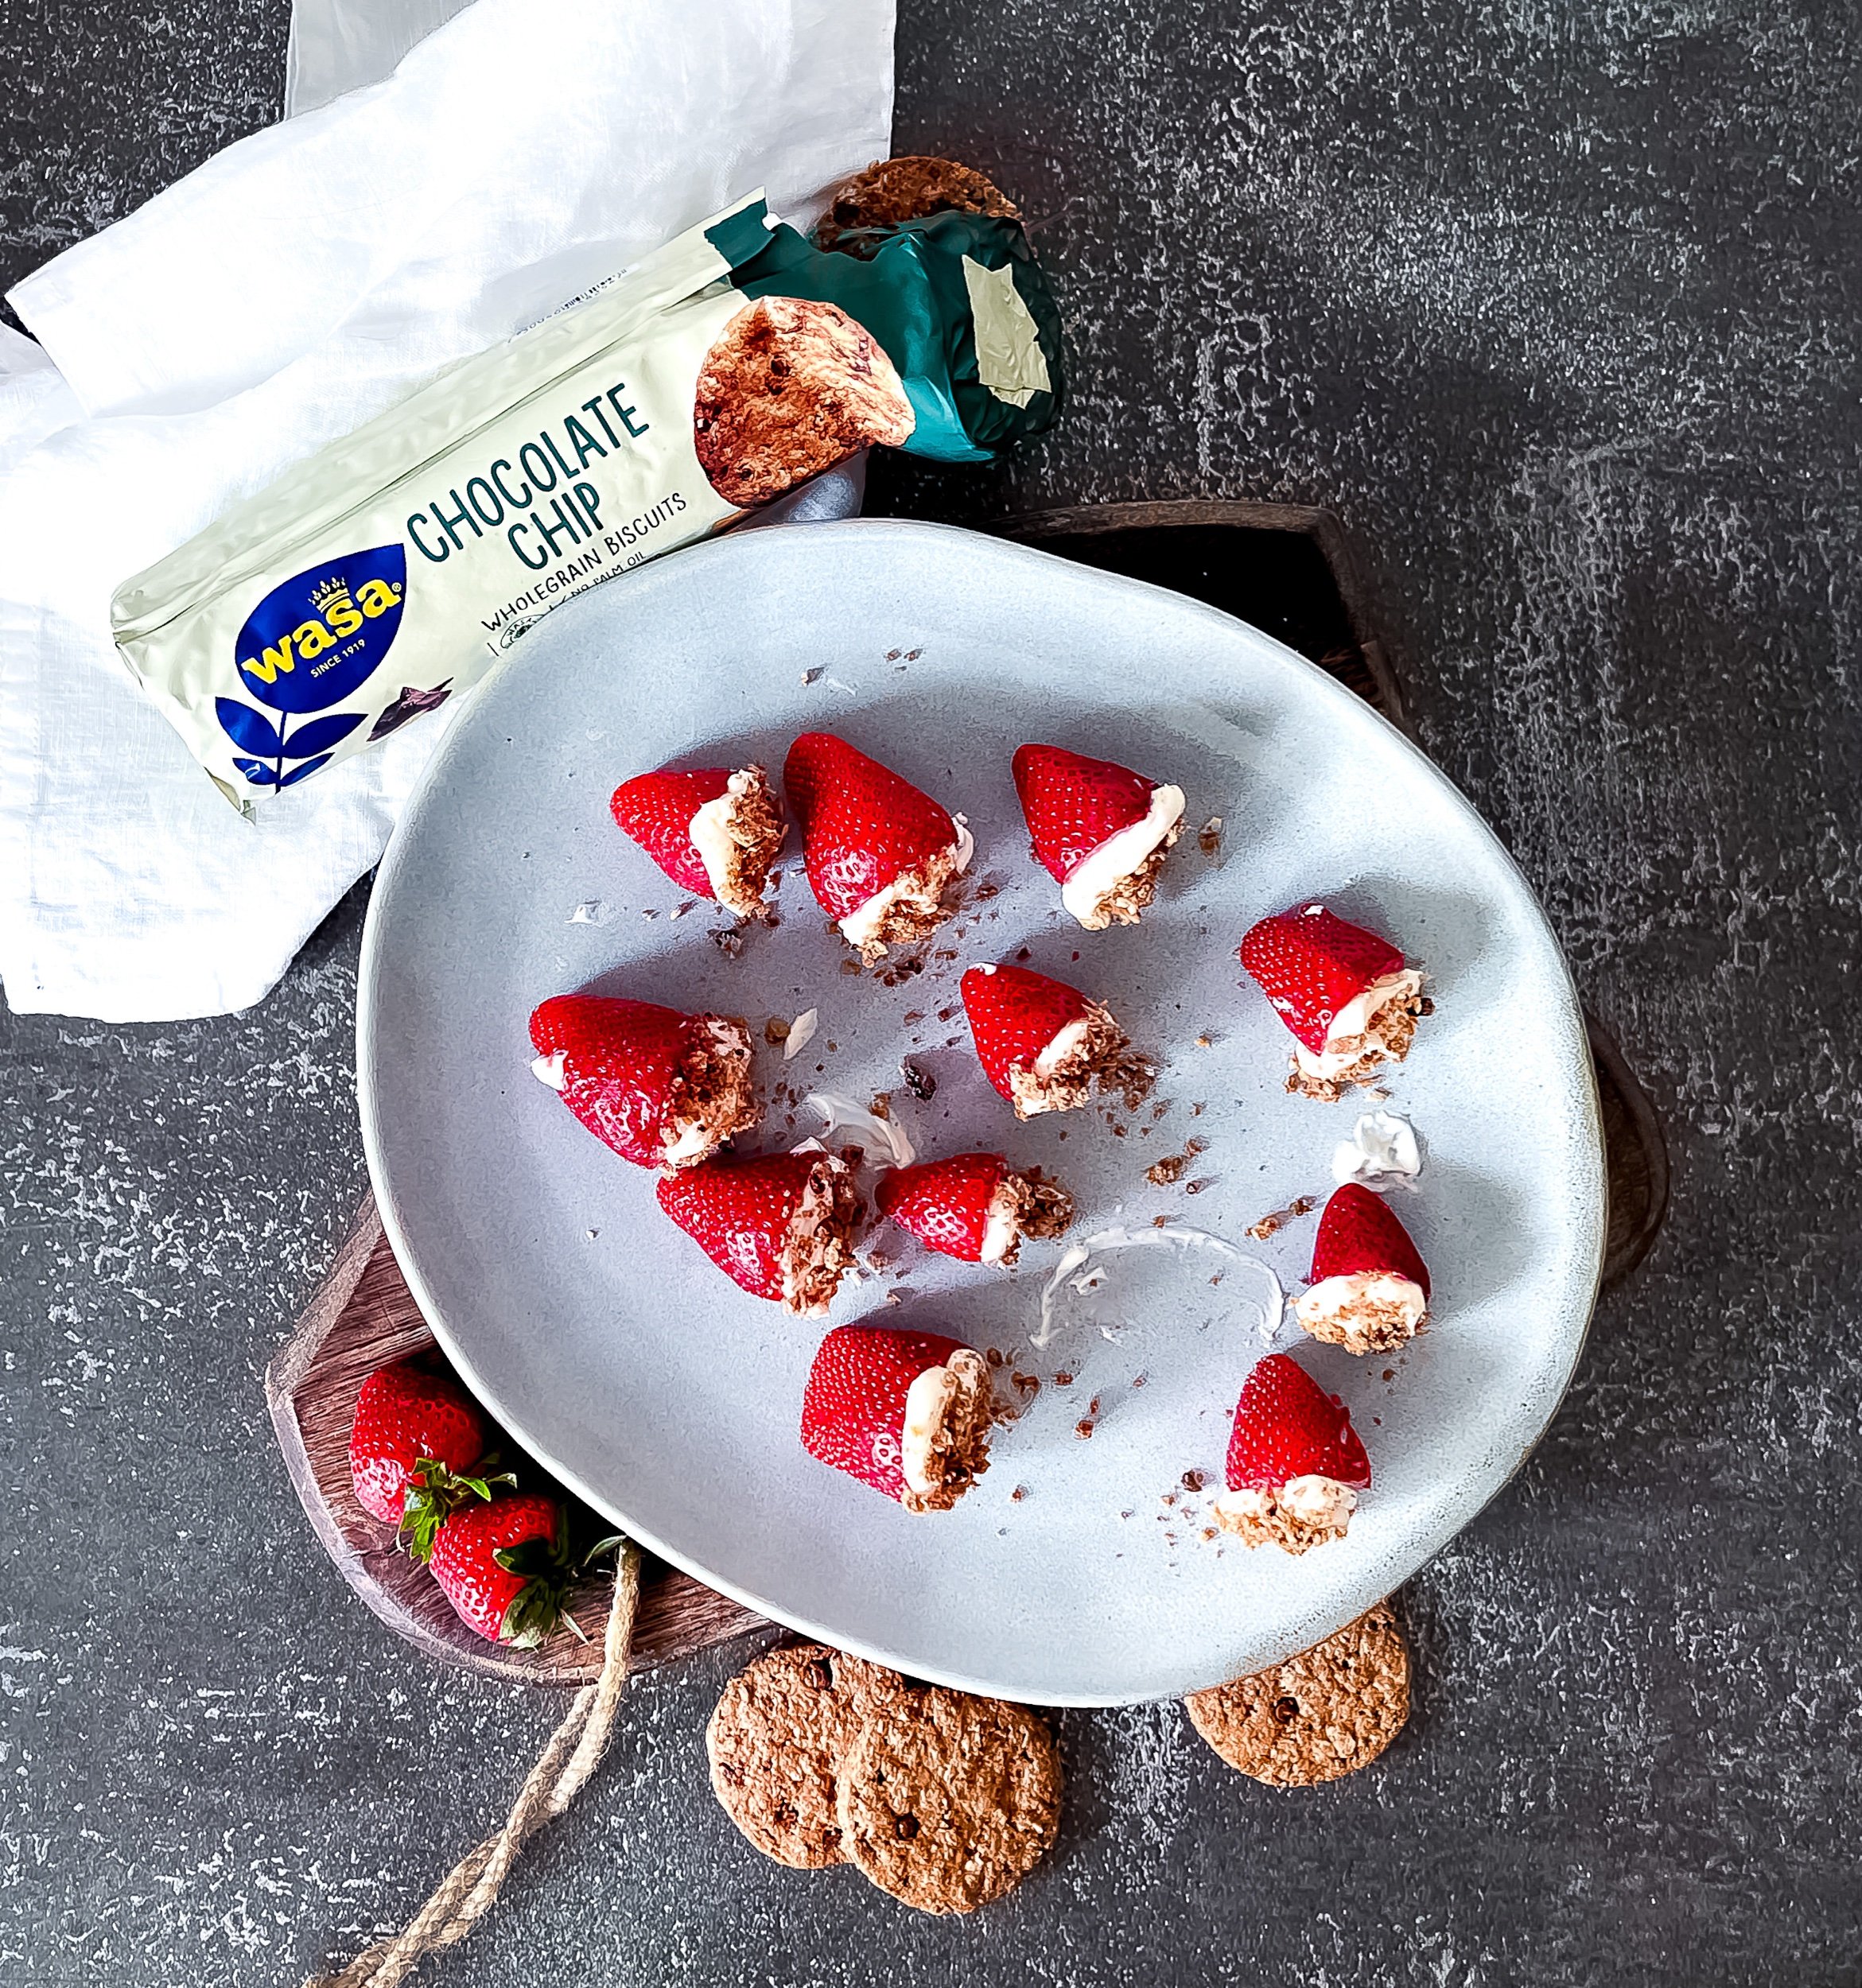
No-Bake Cheesecake Stuffed Strawberries Recipe
Hey there! Are you ready to learn how to make a delicious dessert? Check out my latest recipe, "Cheesecake Stuffed Strawberries with Wasa Graham Cracker Crumbs: A Delectable Delight." I'll walk you through the steps to create this mouthwatering treat. You can combine the creamy goodness of cheesecake with the natural sweetness of strawberries to make a treat that is not only visually appealing but also easy to make. It will only take you a total of 50 minutes. To start off, you'll want to prepare your Granny Hayes No-Bake Cheesecake Filling. Next up, it's time to get those strawberries prepped and those Wasa graham cracker biscuits crushed. I love filling the strawberries with the heavenly cheesecake filling and coating the ends with a delightful layer of graham cracker crumbs. It's such an exciting part of the process! After you chill them, you can savor and serve these stunning Cheesecake Stuffed Strawberries. With your impeccable taste, you'll be sure to impress your guests with this dessert's vibrant colors, contrasting textures, and perfect balance of flavors. You should definitely try this recipe if you love the heavenly combination of creamy cheesecake, juicy strawberries, and crispy graham cracker crumbs. It's elegant, yet easy to make. Are you ready to create a showstopping dessert that will leave everyone craving more?

Viral Upside-Down Puff Pastries with Cream Cheese and Smoked Salmon Recipe
Have you ever been in search of a unique and delicious appetizer that can elevate your dinner party, holiday gathering, or even just a cozy night in with your loved ones? If you're looking for something, then look no further! If you're looking to impress your guests and satisfy their taste buds, I highly recommend trying my Warm Smoked Salmon Puffs with a Twist (Upside-Down Style) recipe. I'll provide you with a detailed, step-by-step guide on how to prepare this delectable dish, alongside tips, tricks, and insights to make your cooking experience an enjoyable one.
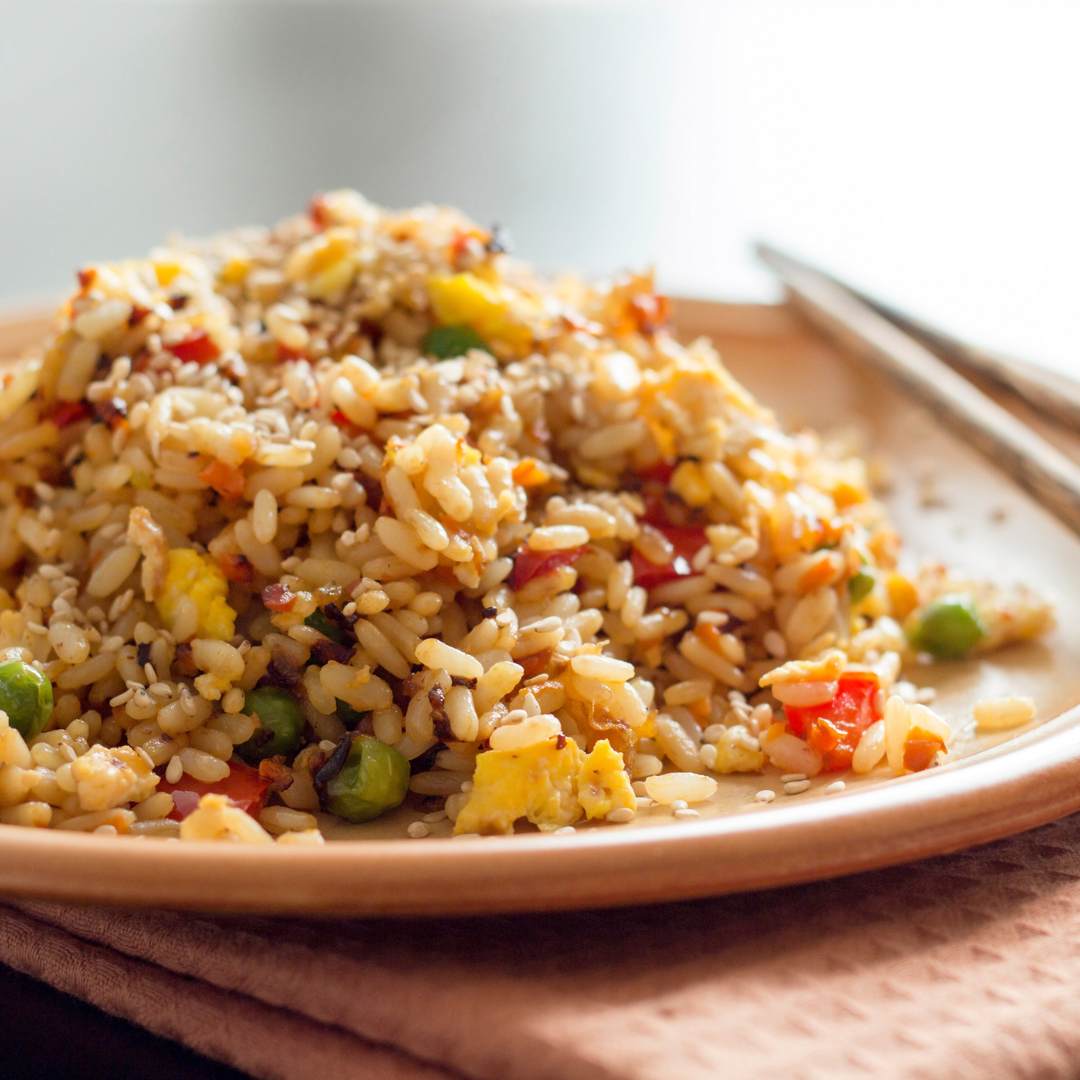
Egg Fried Rice Recipe
I absolutely love Flavorful Egg Fried Rice! I'm pleased to share a favorite recipe! It's easy to make and full of delectable tastes. It's delicious! It's ideal for weeknights when you want a cooked supper but don't have time to cook. A wonderful lunch may be ready in 25 minutes. It also serves four generously, so you may feed your family or have leftovers. I use day-old rice for the best texture. This keeps my grains airy and separate. I appreciate the tenderness of separate-cooked eggs. I often add bright vegetables for color and nutrition. I love this recipe's secret sauce. I add soy sauce, oyster sauce, white pepper, and garlic powder to produce a fantastic umami-rich sauce. Prepping and stir-frying my items in a hot skillet or wok makes cooking easier. Egg fried rice—side dish or meal? It's delicious with chicken, shrimp, or tofu. As you enjoy every bite, remember the rich history and global adventure that made this comfort food.

Kentucky Derby Mint Juleps Recipe
You might enjoy the Mint Julep if you like a refreshing cocktail with a hint of sweetness and a kick of bourbon. It's a classic Southern drink made with fresh mint leaves and crushed ice, perfect for sipping on a hot day. To make a Mint Julep, you'll need to start by muddling some fresh mint and sugar together. Then, add in your favorite bourbon and fill the glass with crushed ice. Give it a good stir and, if you like, add a splash of club soda to finish it off. To enjoy a refreshing and delightful Mint Julep experience on warm days and outdoor gatherings, you can garnish your drink with mint leaves, insert a straw, and serve it immediately.

Oven-Baked Potato Recipe
I'll take you on a flavorful journey through the world of oven-baked potatoes. I'll provide you with a step-by-step guide to creating the perfect baked potatoes with olive oil and flake salt, including tips on choosing the right potato variety and preparing them for baking. I also love discussing the history of baked potatoes and how they've evolved over time. Additionally, I can offer you a list of delicious pairings for your baked potatoes, from grilled steak to stuffed chicken breast. You can enjoy the flavors of this classic dish even the next day with our storage and reheating tips for any leftovers. If you're planning to host a baked potato bar or share your creations on social media, I've got you covered with this ultimate guide that includes everything you need to make mouthwatering oven-baked potatoes.
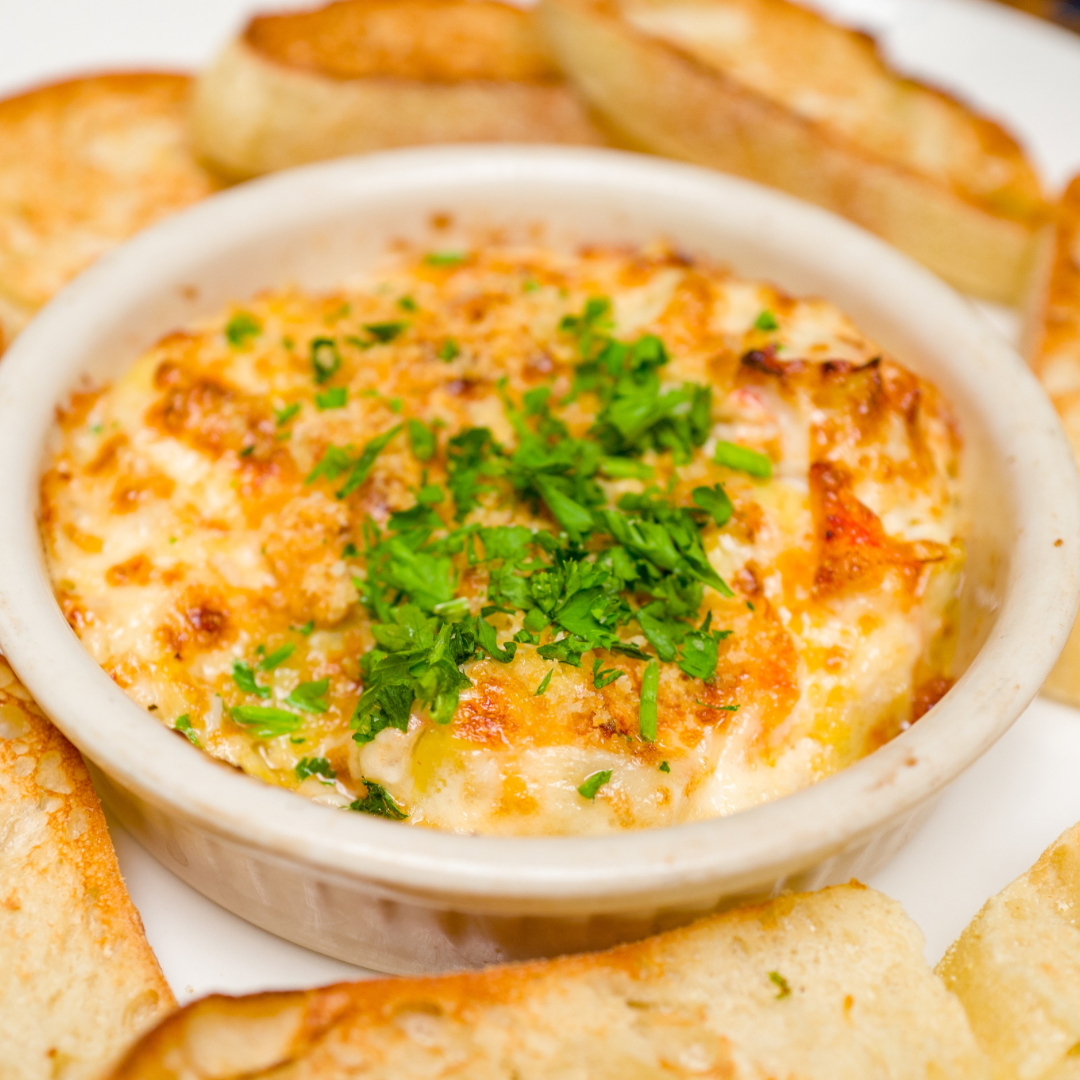
Jalapeño Popper Dip Recipe
Are you tired of the same old party snacks? Are you searching for a unique, flavorful, and easy-to-make dish that will leave your guests craving more? Well, look no further! This Jalapeño Popper Dip is here to save the day. I love combining the mouthwatering flavors of jalapeño poppers with the ease of a dip. It's perfect for my next gathering or just a cozy movie night at home. Can you imagine treating yourself to a mouthwatering dish of creamy cream cheese, spicy jalapeños, and the perfect combination of cheddar and Parmesan cheeses, all baked to melty perfection in just 30 minutes? That's right, you can prepare and cook this crowd-pleaser in just half an hour, giving you more time to enjoy the festivities.

John’s BBQ TarTar Sauce (By: Mr Dale Himself!) Recipe
I'm excited to share with you this homemade recipe for John's BBQ Tartar Sauce! It's the perfect addition to any grilled dish or seafood, and it adds a fresh and unique flavor that you won't find in store-bought sauces. This BBQ Tartar Sauce recipe is truly unique with its perfect blend of flavors. The combination of mayonnaise, yellow mustard, white granular sugar, sweet pickled relish, and chopped sweet onion creates a delightful taste that sets it apart from other recipes.


